
The TOUCH Disc Display has been designed for easy installation by all and can be set up in just a few minutes!
So whether you’re an adopter of the Disc Display Solution, or are curious about the installation process, this article covers everything you need to know about setting up and installing your new Disc Display Solution from TOUCH.
Let’s get into it!
What You’ll Need To Install:
- Level
- Philips Screwdriver
- Drill with ¼ Drill Bit
- Pencil (for marking)
- Hammer
Step By Step With Adam Shepp – Installation Instructions For Your TOUCH Disc Display
Installation Instructions:
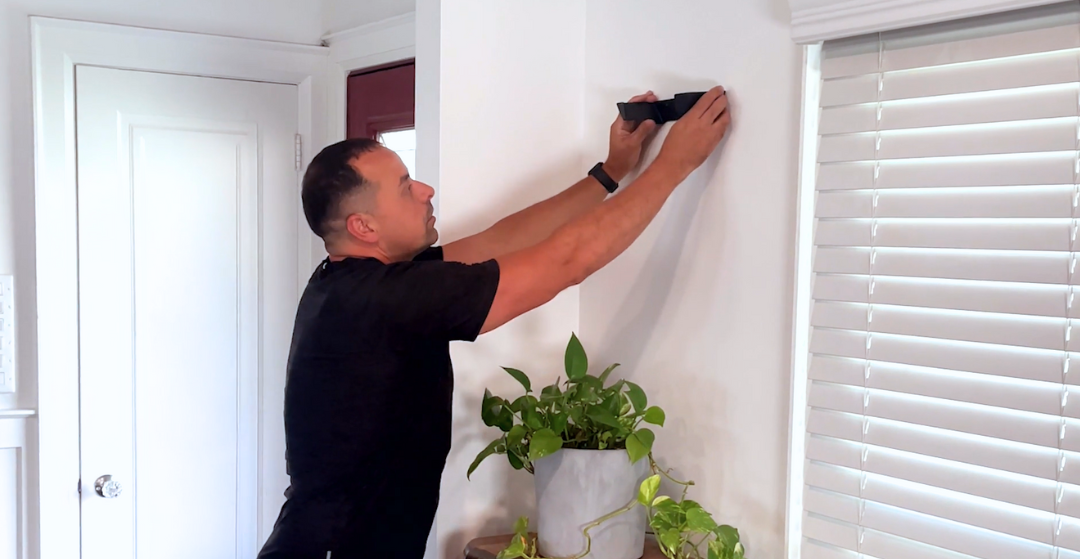
Step 1: Find The Location On Your Wall Where You’d Like To Mount Your Disc Display
Step 2: Level The Disc Display & Mark The Mounting Holes With A Pencil
Step 3: Drill Your Two ¼ Pilot Holes
Step 4: Put Wall Plugs Into Drilled Pilot Holes & Tap In Flush With Your Hammer
Step 5: Fasten the Disc Display To The Wall Using The Mounting Screws
Congratulations! You crushed the installation and your TOUCH Disc Display is now ready for use!
Frequently Asked Questions & Answers
Can I remove, move, remount the Disc Display?
Yes – Our Disc Display is built to last a lifetime and can easily be removed, moved and remounted! Although you can re-use the mounting screws, you’ll need to acquire new wall plugs if you decide to switch up your setup!
How do I install the disc display if I don’t have a drill?
Due to the weight of the product when in use, we ALWAYS recommend using the wall plugs to mount your new Disc Display. If you don’t have a drill to create pilot holes, consider using a hammer and ¼ inch nail instead.
What about installing the Disc Display on other surface types like Wood, Brick or Cement?
When installing the Disc Display on Wood, you can omit the wall plugs (step 3 & 4)
When installing the Disc Display on Brick or Cement, you’ll need to use a Hammer Drill and a special cement drill bit.